Hi foodies! I’m Tali Chobara, bringing you delicious, easy, and super fun recipes. I love sharing recipes that are foolproof, yet still super tasty. My recipe world is on Instagram @behindthesnack and I’m bringing you the best of the best here. You don’t need to be a chef to make some drool worthy dishes that get the “oohs” and the “ahhs.”
Shavuot is around the corner and while cooking cheese blintzes, mini pizzas and pull apart challah stuffed with cheese (yum!) is all that’s on your mind, I have three recipes for you that won’t take all that Erev Shavuot cooking time away, yet without doubt they still taste delicious.
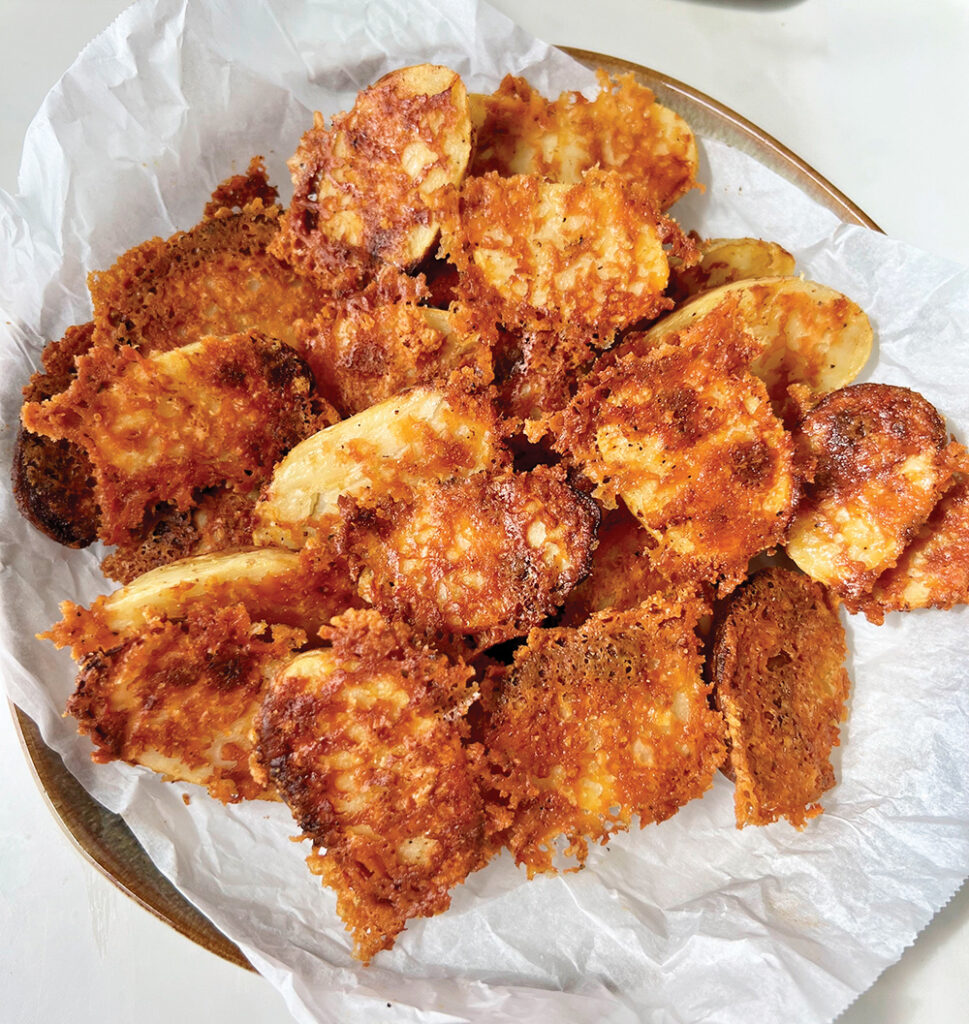
Let’s hop onto a delicious side dish that’ll make your Shavuot meal an 11/10. No, it’s not lasagna, or an easy caesar salad (even though those are a staple). It is crispy roasted parmesan potatoes. Yes, you heard that right. Your potatoes are going to go to great use right now with this delicious cheesy, crispy and flavorful recipe. And the best part is, it doesn’t take complicated ingredients or a long time to make. Watch everyone’s face as they take a bite, let their teeth sink in, hear the crunch and then demand seconds. I’ve been making these potatoes for the last few years on Shavuot. It has become our tradition, so let’s make it your tradition this year.
Crispy Cheesy Parmesan Potatoes

- 16 yellow baby potatoes
- ⅔ cup grated parmesan cheese
- 1 tablespoon olive oil
- ¼ teaspoon of each: salt, pepper, garlic and paprika
Instructions:
- Preheat your oven to 400 F.
- Wash and dry your potatoes and cut them in half.
- In a bowl, mix the potato halves with olive oil, salt, pepper, garlic and paprika.
- On a baking sheet, spread grated parmesan to cover the bottom of the tray.
- Place the potato halves tightly next to each other on top of the parmesan.
- Bake at 400 F for around 30-35 minutes. If you’re using a glass baking dish it will take longer for the parmesan to crisp up and be golden brown.
- Once it’s done, let it cool until it’s crispy on the sides and enjoy!
- Option: serve with a dip/sour cream.
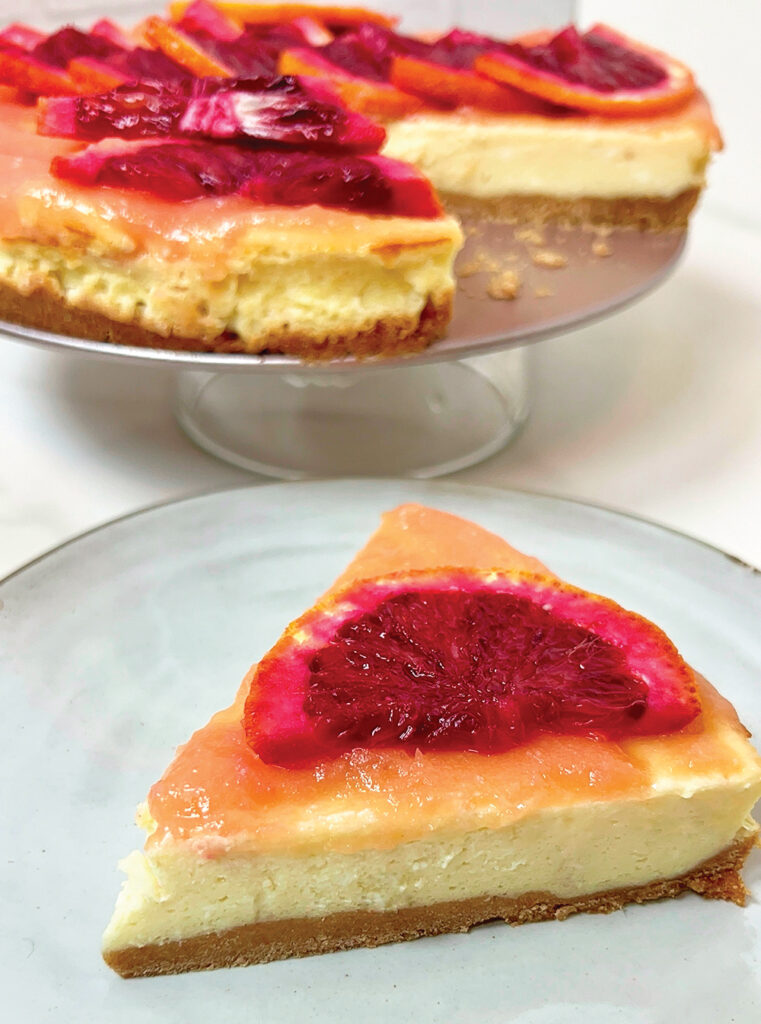
Cheesecake is on my list of “top five favorite foods” and as a kid I always looked forward to the dessert table on Shavuot. Having more than two slices of cheesecake usually leaves you feeling like a sack of potatoes, but not with this one. Being that I try to elevate my recipes into healthier and better-for-you ones, I wanted to create a cheesecake that still gives you the same satisfaction as a slice of a “real” cheesecake, but made with better ingredients.
Light & Delicious Cheesecake

Fruit Purée:
- Fruit of choice (1 cup chopped fruit)
- 1 tablespoon granulated sugar
- 1/4 cup water
- 1 1/2 tablespoon cornstarch
Crust:
- 1 cup of graham cracker crumbs
- 3 tablespoon melted coconut oil
- 2 tablespoon maple syrup; add more if needed
- Pinch of salt
Filling:
- 6 ounces low-fat cream cheese
- 1 cup Greek yogurt
- 2 large eggs
- 1/3 cup granulated sugar
- 2 tablespoons flour
- 1 teaspoon vanilla extract
Instructions:
- In a saucepan, add the chopped fruit with water and let it heat up. Then add in the sugar and cornstarch and cook for 4-5 minutes, and let it cool.
- Preheat the oven to 350 F.
- In a blender/food processor, blend the graham crackers into crumbs and mix in the melted coconut oil, maple syrup and salt.
- Form the crust in a cake pan. It’s best to use a cake pan that has a removable bottom so it’s easier to remove the finished product.
- Whip the cream cheese until smooth and add in the sugar, flour and whip again. Then add Greek yogurt, whip more and finally add the eggs and vanilla and whip again.
- Fill the mold with the cheesecake batter.
- Bake for 15-20 minutes.
- Once cooled, top it with the fruit purée, let it chill in the fridge for 15-20 minutes and enjoy!
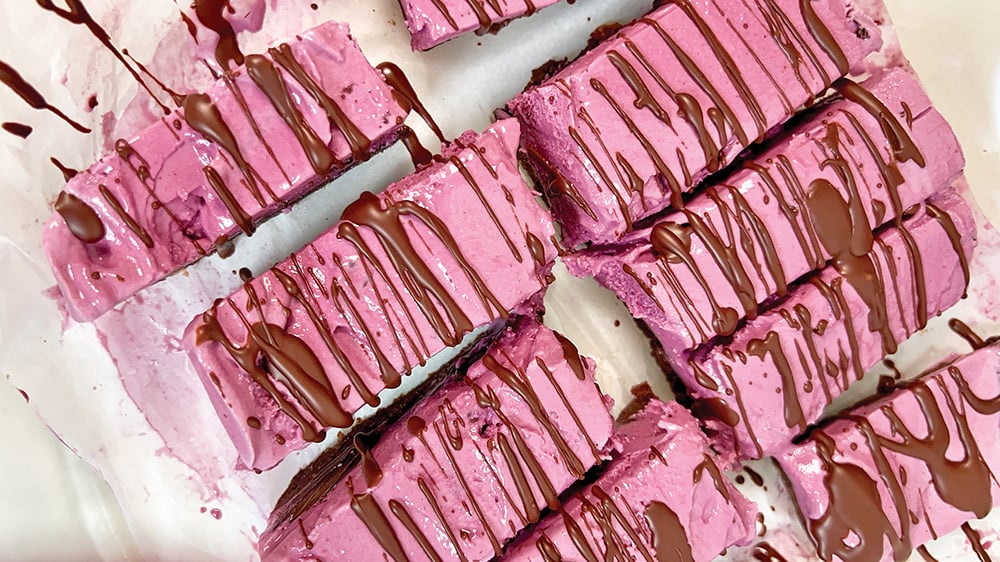
We’ll end off this Shavuot recipe edition with a fan favorite: layered ice cream bars. These ice cream bars start off with a delicious chocolatey crust that’s no-bake too, then you make your way up to a thick ice cream layer and let your taste buds enjoy the drizzled chocolate on top. It’s your time to get creative so use whichever ice cream flavor you’d like.
Layered Ice Cream Bars

Crust:
- 2 tablespoons almond butter
- 2 tablespoons maple syrup
- 1 tablespoon almond milk
- 2 tablespoons cocoa powder
- 2/3 cup almond flour (add more if needed)
Ice cream layer:
- 1 pint ice cream of choice
Chocolate drizzle:
- ⅓ cup chocolate chips melted with 1 tablespoons coconut oil
Instructions:
- Mix the ingredients for the crust and flatten out the crust on a piece of parchment paper.
- Let the ice cream thaw for 10 min and spread on the crust.
- Melt the chocolate chips in a saucepan/microwave. Melting the chocolate chips with coconut oil will make it easier to drizzle.
- Drizzle the chocolate on top.
- Freeze for 25 minutes.
- Cut into bars and enjoy!
Tali Chobara is a recipe developer that loves creating recipes that take minimal effort, yet taste delicious. She started her Instagram account @behindthesnack back in 2019 and has grown it to 63K+ fans who all share the same love of easy and delicious recipes.


